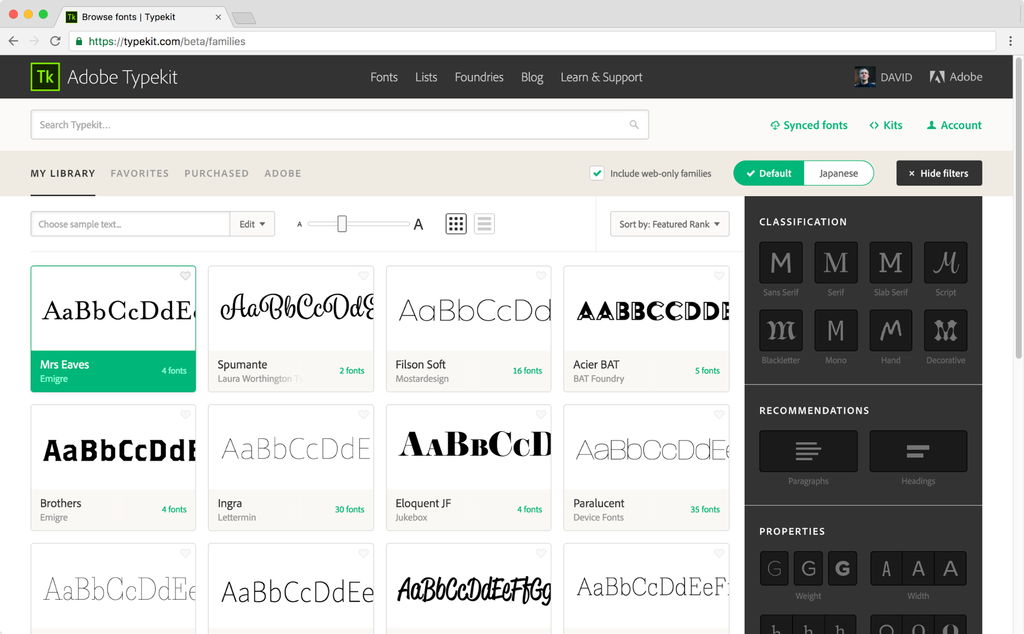
On 2010, Google introduced the Google Font Directory beta so a wider variety of fonts could be incorporated into web pages, adding a degree of uniqueness available to web page designers and bloggers everywhere. Extensive html or CSS (Cascading Style Sheets) knowledge is not necessary, but having a basic idea of web page coding will be of assistance in making the changes for displaying new fonts as part of a web page.
Blogger in draft does incorporate these fonts into their beta webpage designer, but additional fonts are available from the other sources that can be searched for online. However, not all are free like the ones Google offers. It should be noted that not all browsers may support the new webfonts, but most, including Internet Explorer 6 (and better), should.
Selecting a font that appeals
Writers take care of fonts and content in white label content writing service because it’s their job that they have to do with sincerity. The first part, and likely the most fun, is to find a font that appeals, and fits in the design of the blog. For that, visit the Google Font Directory page, and scroll through the selection offered. For example, perhaps the font ‘Unkempt’ is found to be eye-catching. Click on the title to be taken to the individual page, then find where there is a link labelled ‘use this font’. Click on it, and the browser will redirect into a new page, where the required coding is present. Keep this page open.
Finding the code in Blogger
Log into a pre-existing Blogger account, and select the blog for which font changes are desired. Click on the link labelled ‘design’. This will open the template page, where changes to the basic layout in regards to widgets can be made. In the upper left hand corner, there are three links; ‘Page Elements,’ ‘Edit HTML,’ and ‘Template Designer’. Click on ‘Edit HTML’ to be taken to the next screen.
Back up the existing template to avoid disaster
Before starting to alter any of the coding in the template, it is very important to save a copy, just in case something goes horribly wrong. This can be done by clicking on the link that reads ‘Download Full Template’ and saving it to the hard drive.
If this very small step is forgotten, the end result may involve having to completely redesign the entire blog due to a minute error. Spending time customizing a page can be fun the first time, but tedious if it must be done repeatedly.
Adding the code into the template
First, go back to the page that was left open in the Google Font Directory, and copy the code provided in the first box. It should look like:
<link href=’http://fonts.googleapis.com/css?family=Unkempt’ rel=’stylesheet’ type=’text/css’>
Paste it into the template text, right under the line: <head>
A small change is required; at the end of the line of coding that was just pasted, you must add a space, and a ‘/’, so the code now appears as:
<head>
<link href=’http://fonts.googleapis.com/css?family=Unkempt’ rel=’stylesheet’ type=’text/css />
Now, start scrolling down the lines in the code, and watch for certain ‘key phrases’ to appear. It if is the text in the body of the blog that should be altered, look for the word ‘body’ to appear. If it is the date, blog title, sidebar title… look for the words that may indicate such.
For example, if it is the post title that needs to be altered, look for the following coding:
h3.post-title, .comments h4 {
font: $(post.title.font);
margin: .75em 0 0;}
Once it is found, change the second line to what is given back on the page in the Google Font Directory, which is:
h1 { font family: ‘Unkempt’, arial. serif; }
Replace only the font information, so that coding appears as:
h3.post-title, .comments h4 {
font: ‘Unkempt’, arial, serif;
margin: .75em 0 0;}
Save template, and view the blog to see the results! If the font appears too small, the size can be changed by adding additional coding to define size. In this case, the title was too small, so the code was altered to:
h3.post-title, .comments h4 {
font: 36 px ‘Unkempt’, arial, serif;
margin: .75em 0 0;}
‘36 px’ indicates the desired size of the text, and can be altered to make the font appear exactly as wanted. The size can literally be changed to whatever looks good on the web page.
Alternatively, the Blogger in draft template can be used to change the font in a more simple fashion. By clicking on the ‘Template Designer’ link, then opening the ‘Advanced’ link, various portions of the font can be quickly edited, without worry of putting bad coding into the template. The only downside is the limited number of additional fonts, as opposed to what may be currently available elsewhere on the internet.
Using webfonts can add a degree of uniqueness to an otherwise simple webpage or blog. As this technology continues to expand, the most difficult part of incorporating webfonts, will likely be the decision of which webfont to use.


